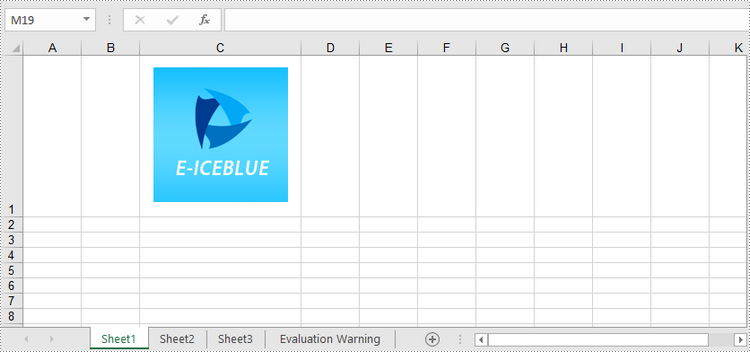
Inserting or deleting images in Excel can be a powerful way to enhance your spreadsheets and make them visually appealing. Whether you want to include logos, charts, diagrams, or any other graphical elements, Excel provides the functionality to seamlessly integrate images into your worksheets. Additionally, Excel offers the options to manipulate and organize images, allowing you to resize, move, or delete them as needed. In this article, we will explore how to programmatically insert or delete pictures in Excel in Python by using Spire.XLS for Python.
Install Spire.XLS for Python
This scenario requires Spire.XLS for Python and plum-dispatch v1.7.4. They can be easily installed in your Windows through the following pip command.
pip install Spire.XLS
If you are unsure how to install, please refer to this tutorial: How to Install Spire.XLS for Python on Windows
Insert a Picture to a Specific Cell in Python
To add a picture to a certain cell, you use Worksheet.Pictures.Add(int topRow, int leftColumn, Image image) method. The following are the detailed steps.
- Initialize a Workbook instance.
- Get a specific worksheet through Workbook.Worksheets[sheetIndex] property.
- Insert a picture into a specific cell using Worksheet.Pictures.Add() method and return an object of ExcelPicture.
- Set the width and height of the picture, as well as the distance between the picture and the cell border through the properties under the ExcelPicture object.
- Save the workbook to an Excel file using Workbook.SaveToFile() method.
- Python
from spire.xls import *
from spire.xls.common import *

# Create a Workbook object
workbook = Workbook()

# Get the first worksheet.
sheet = workbook.Worksheets[0]

# Add a picture to a specific cell
imgPath = "C:\\Users\\Administrator\\Desktop\\logo.png"
picture = sheet.Pictures.Add(1, 3, imgPath)

# Set the picture width and height
picture.Width = 150
picture.Height = 150

# Adjust the column width and row height so that the cell can accommodate the picture
sheet.Columns[2].ColumnWidth = 25
sheet.Rows[0].RowHeight = 135

# Set the distance between cell border and image
picture.LeftColumnOffset = 90
picture.TopRowOffset = 20

# Save to file
workbook.SaveToFile("output/InsertImage.xlsx", ExcelVersion.Version2013)
workbook.Dispose()

Delete Pictures in a Worksheet in Python
A picture in a worksheet can be removed using Worksheet.Pictures[imgIndex].Remove() method. To delete all pictures, you can use a for loop to iterate through the pictures in the worksheet. The following are the detailed steps.
- Create a Workbook object.
- Load an Excel file using Workbook.LoadFromFile() method.
- Get a specific worksheet through Workbook.Worksheets[sheetIndex] property.
- Delete images in the worksheet using Worksheet.Pictures[imgIndex].Remove() method.
- Save the workbook to another Excel file using Workbook.SaveToFile() method.
- Python
from spire.xls import *
from spire.xls.common import *

# Create a Workbook object
workbook = Workbook()

# Load an Excel file
workbook.LoadFromFile("C:\\Users\\Administrator\\Desktop\\InsertImage.xlsx")

# Get the first worksheet
sheet = workbook.Worksheets[0]

# Delete all pictures from the worksheet
for i in range(sheet.Pictures.Count - 1, -1, -1):
    sheet.Pictures[i].Remove()

# Delete a specific picture
# sheet.Pictures[imgIndex].Remove()

# Save to file
workbook.SaveToFile("output/DeleteImage.xlsx", ExcelVersion.Version2013)
workbook.Dispose()
Apply for a Temporary License
If you'd like to remove the evaluation message from the generated documents, or to get rid of the function limitations, please request a 30-day trial license for yourself.


