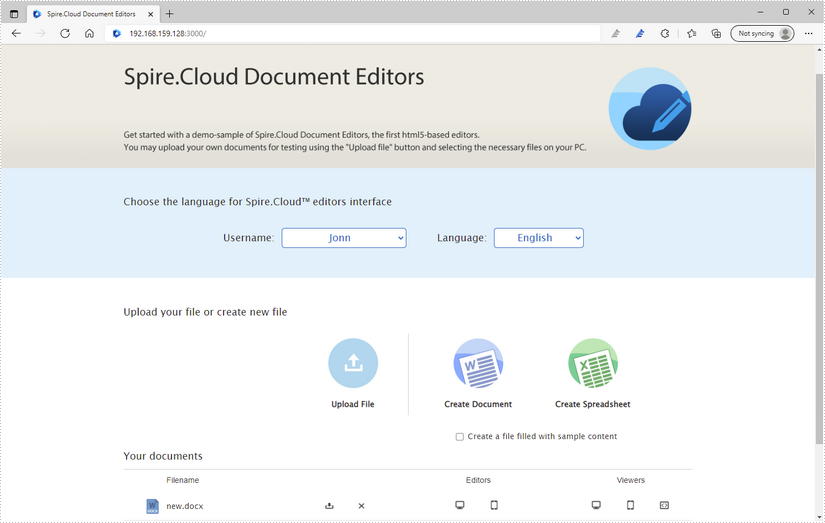
Spire.Cloud.Office is a HTML5-based document editor that allows users to view and edit Word and Excel documents in a web browser. After installing it on your server, you'll be able to run the editor in your own web application. This article will show you how to install Spire.Cloud.Office for Linux on Ubuntu.
Step 1. Configure the Environment
1) Turn off the firewall
Run the script ufw status verbose with root permissions (all scripts in this tutorial are recommended to run as root) to view the firewall status. If the status is inactive, no other settings are required; If the status is active, use the script ufw disable to turn off the firewall.

2) Configure a static IP address
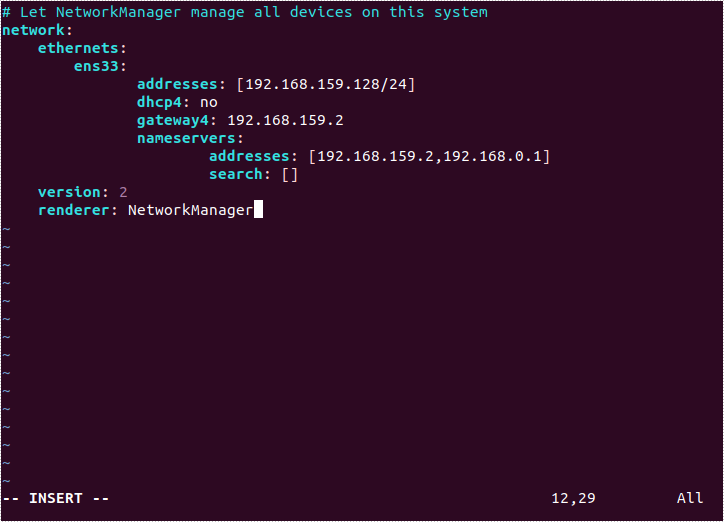
Use the script vim /etc/netplan/*.yaml to open the network configuration file to configure a static IP address.
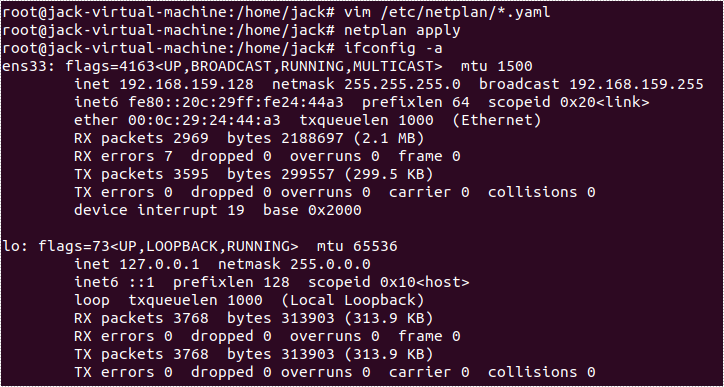
Use the script netplan apply to apply the network settings, and use the script ifconfig -a to check if the IP address is successfully applied.
Step 2. Copy Spire.Cloud.Office to Ubuntu
Download Spire.Cloud.Office for Linux package, and unzip it somewhere on your disk. We'll use WinSCP to copy files from Windows system to the root of Ubuntu system.
1) Log in to WinSCP
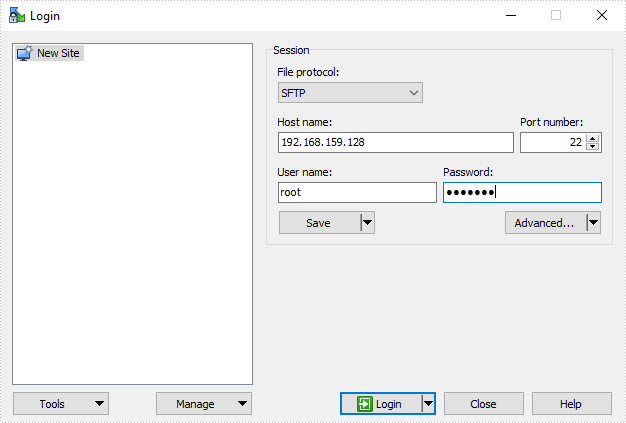
If the connection fails and an error appears as shown in the figure below, please check whether sshd is installed on the server.

If not installed, refer to the following solution:
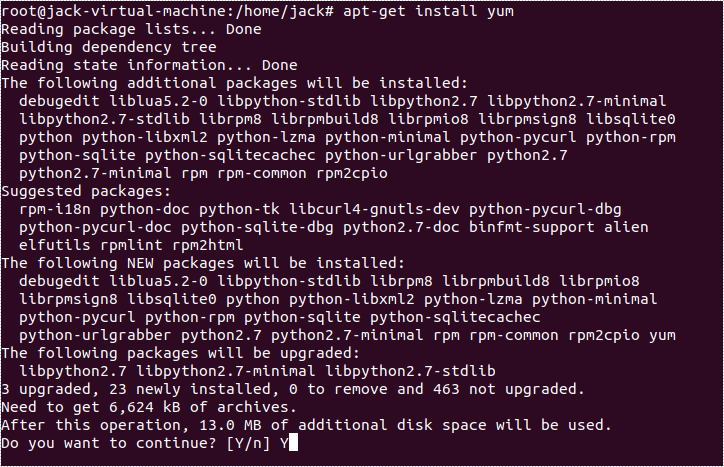
First, run the script apt-get install yum, and then enter Y to continue.
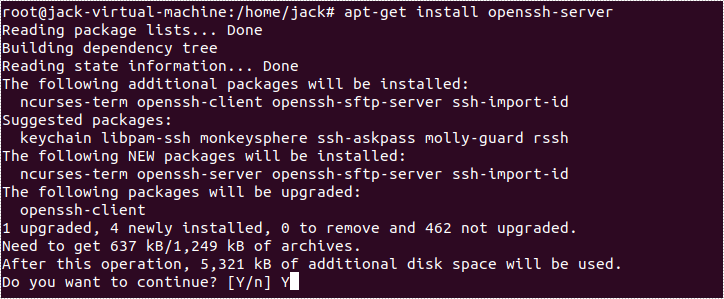
Secondly, run the script apt-get install openssh-server, and enter Y to continue.
Finally, run the script ps -e|grep ssh, and you'll see sshd has been successfully installed.

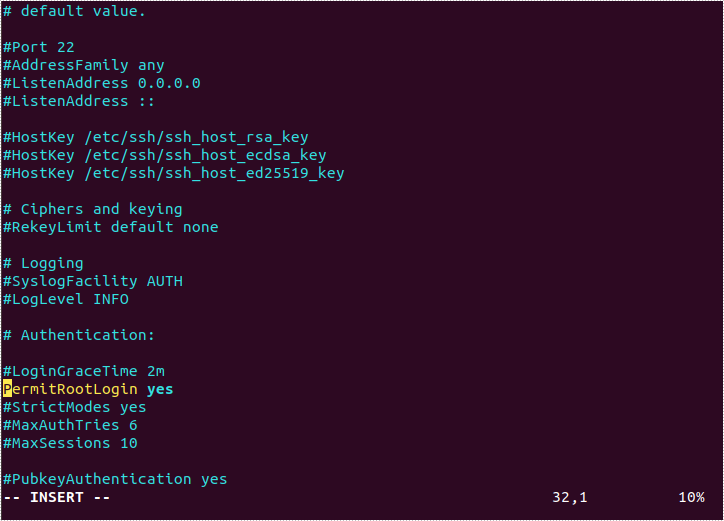
By default, the root user is not allowed to perform SSH remote login. You can enter the configuration file using vim /etc/ssh/sshd_config, change PermitRootLogin to yes, and then run service sshd restart to activate the setting.
2) Copy files
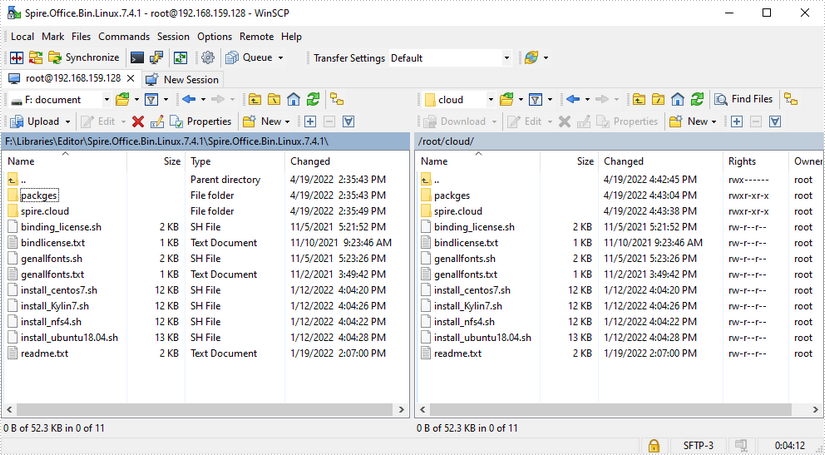
After the connection is successful, copy the files contained in Spire.Cloud.Office for Linux package to the /root/cloud/ directory of the Ubuntu system. The "cloud" folder here is a newly created folder and can be named arbitrarily.
Step 3. Install Spire.Cloud.Office for Linux
Enter the folder where the file "install_ubuntu18.04.sh" is located, then run the script bash install_ubuntu18.04.sh to install Spire.Cloud.Office on Ubuntu.
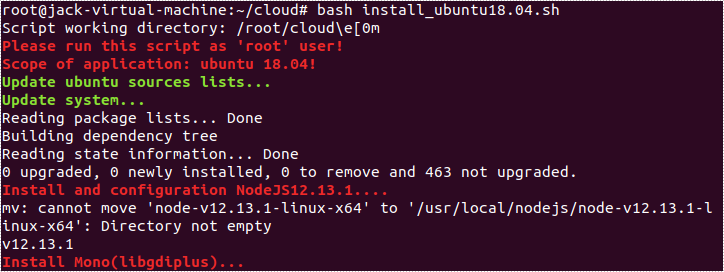
After the installation is completed, you'll get the following output.
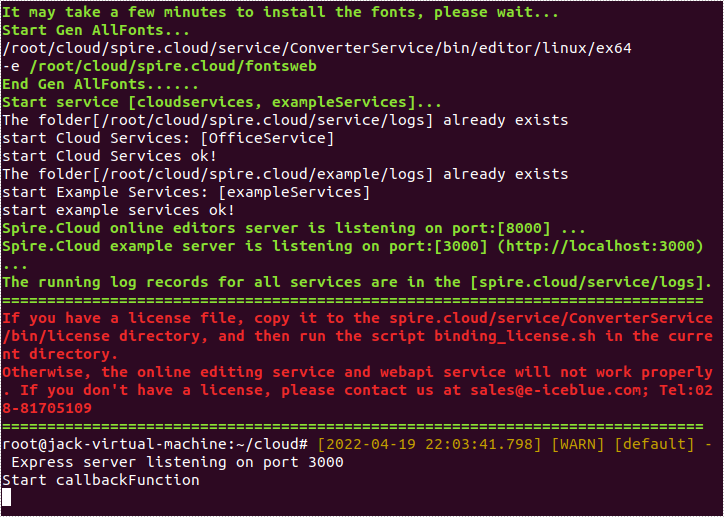
Step 4. Bind License
Copy your license file to the /root/cloud/spire.cloud/service/ConverterService/bin/license/ directory through WinSCP. If you need a temporary license to evaluate our product, please contact sales.
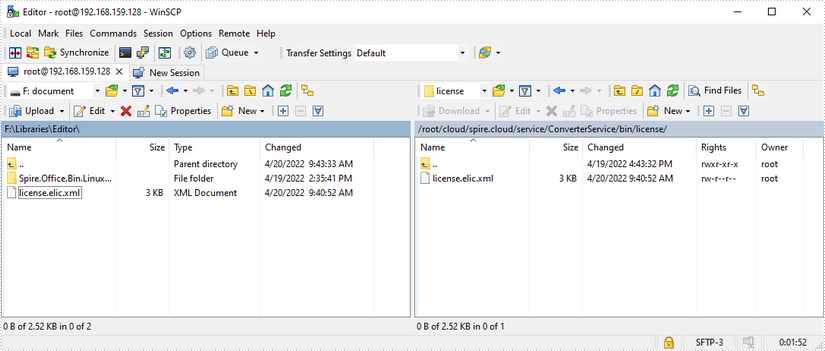
Enter the folder that contains the file "binding_license.sh", then run the script bash binding_license.sh to bind the license.

After the license is successfully bound, you'll get the following output.

Now that you've successfully installed Spire.Cloud.Office for Linux on Ubuntu, you can visit our example on port 3000, or you can embed the document editor in your HTML page using JavaScript.
