
Spire.OCR for .NET (4)
Children categories
C#: Extract Text from Images using the New Model of Spire.OCR for .NET
2024-07-18 01:09:12 Written by support iceblueAs of version 1.9.8, Spire.OCR for .NET offers developers a new model to extract text from images. In this article, we will demonstrate how to extract text from images in C# using the new model of Spire.OCR for .NET.
The detailed steps are as follows.
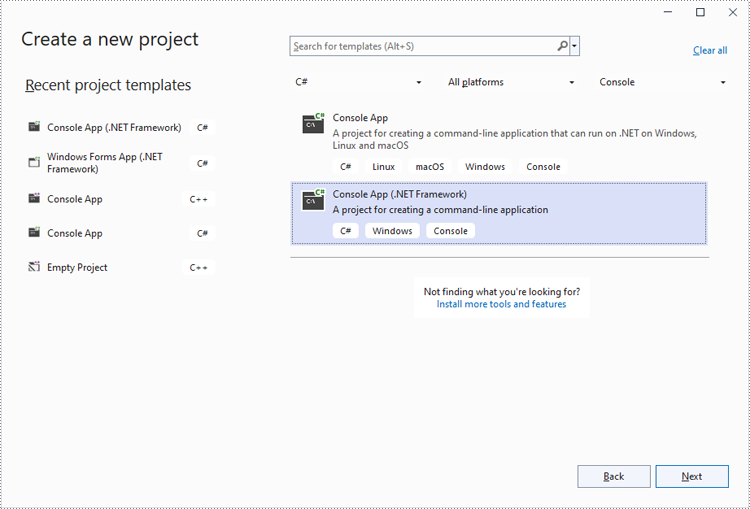
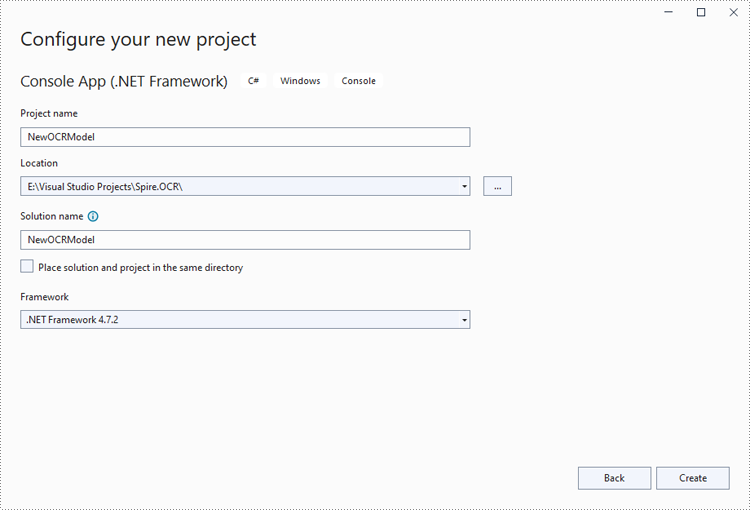
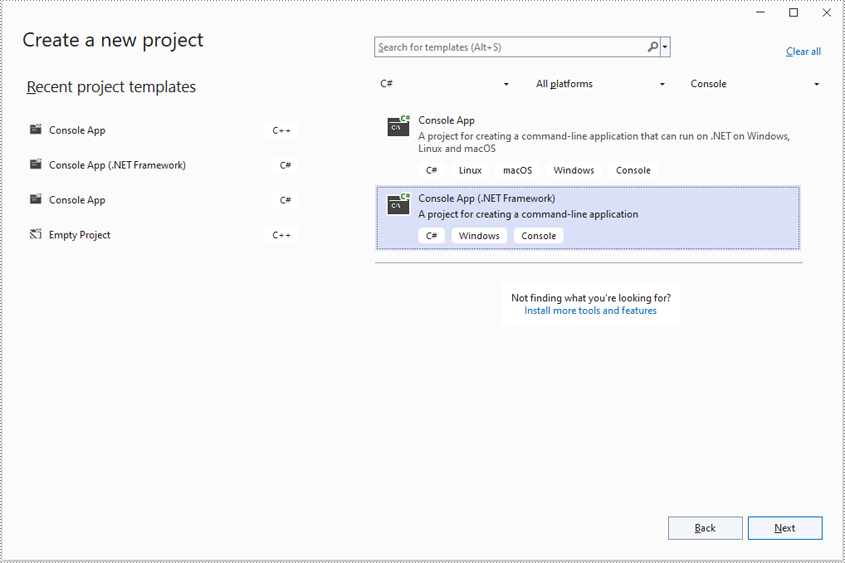
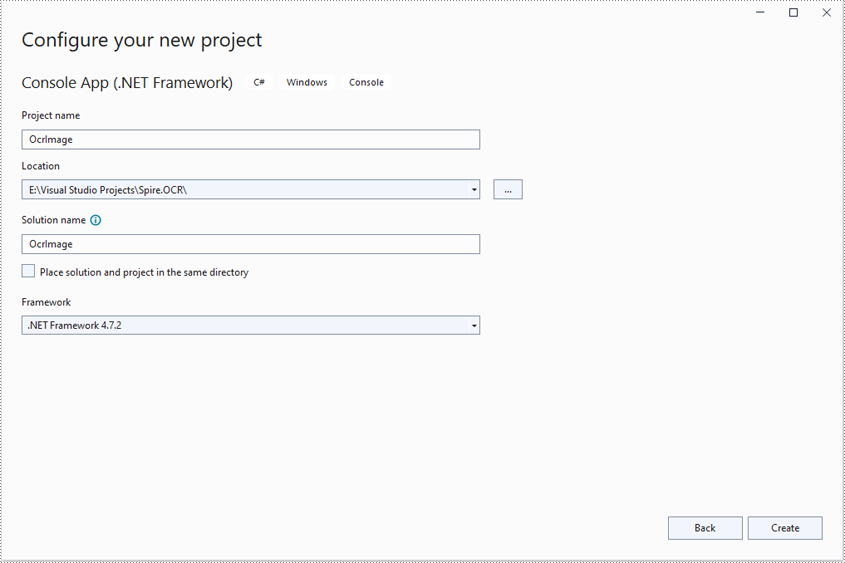
Step 1: Create a Console App (.NET Framework) in Visual Studio.
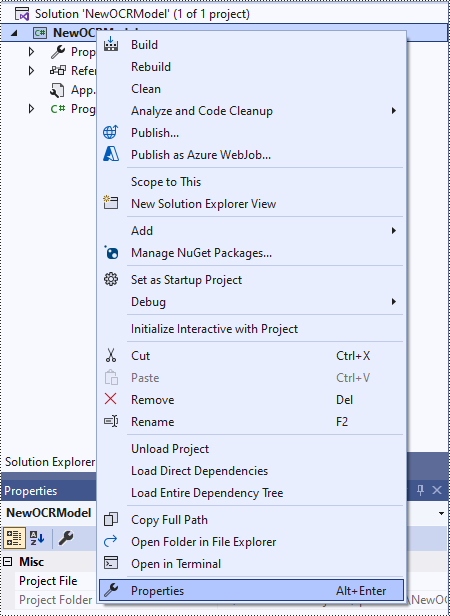
Step 2: Change the platform target of the application to x64.
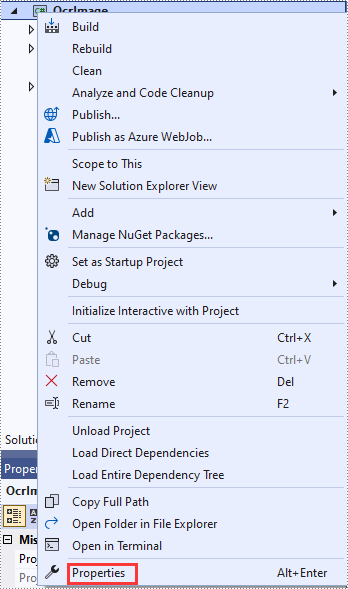
In the application's Solution Explorer, right-click on the project's name and then select "Properties".
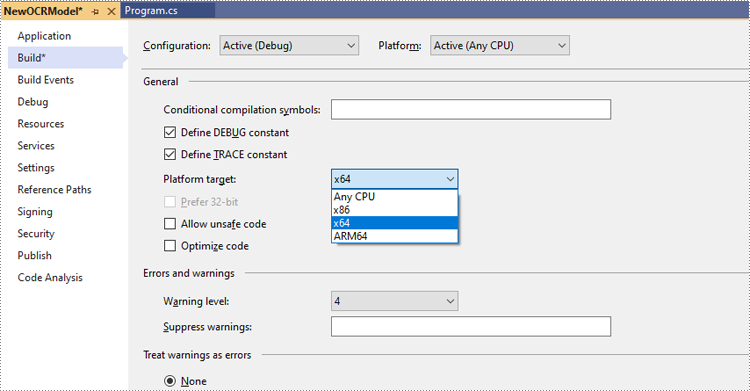
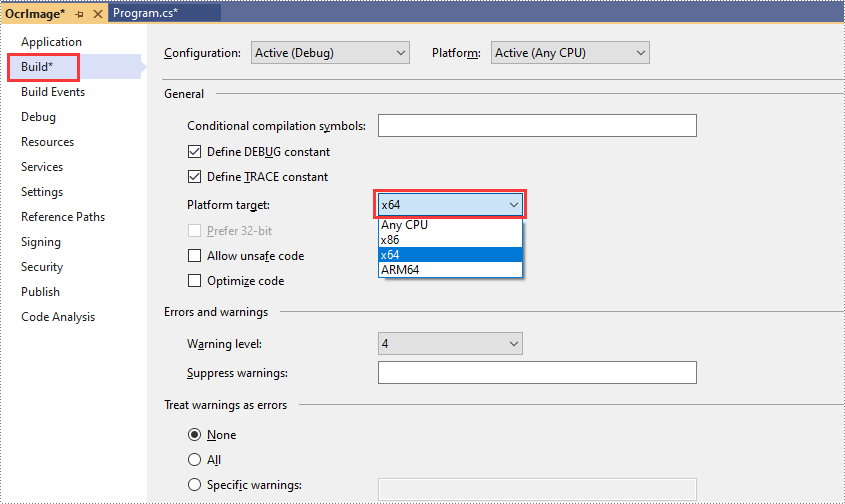
Change the platform target of the application to x64. This step must be performed since Spire.OCR only supports 64-bit platforms.
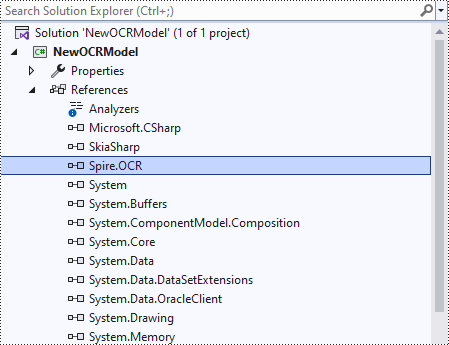
Step 3: Install Spire.OCR for .NET in your application.
Install Spire.OCR for .NET through NuGet by executing the following command in the NuGet Package Manager Console:
Install-Package Spire.OCR
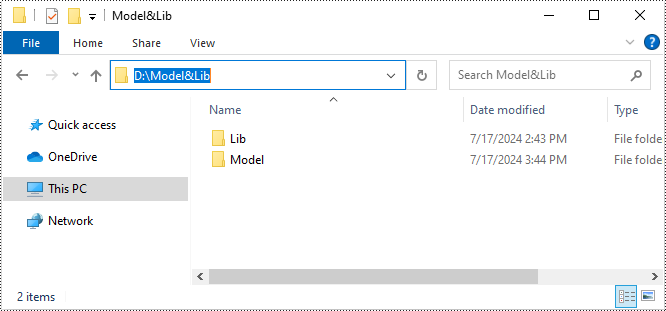
Step 4: Download the new model and dependencies of Spire.OCR for .NET.
Download the new model and dependencies of Spire.OCR for .NET (Model&Lib.zip) through the following link. Then extract the package and save it to a specific directory (such as "D:\") in your computer.
https://www.e-iceblue.com/resource/ocr_net/Model&Lib.zip
Step 5: Use Spire.OCR for .NET to extract text from images in C#.
The following code example shows how to extract text from an image using C# and Spire.OCR for .NET:
- C#
using Spire.OCR;
using System.IO;

namespace NewOCRModel
{
    internal class Program
    {
        static void Main(string[] args)
        {
            // Set license key
            // Spire.OCR.License.LicenseProvider.SetLicenseKey("your-license-key");
            // Create an instance of the OcrScanner class
            OcrScanner scanner = new OcrScanner();

            // Create an instance of the ConfigureOptions class to set up the scanner configuration
            ConfigureOptions configureOptions = new ConfigureOptions();

            // Set the path to the new model
            configureOptions.ModelPath = @"D:\Model&Lib\Model";

            // Set the path to the dependency libs
            configureOptions.LibPath = @"D:\Model&Lib\Lib\X64";

            // Specify the language for text recognition (such as English, Chinese, Chinesetraditional, French, German, Japanese, or Korean)
            configureOptions.Language = "English";

            // Apply the configuration options to the scanner
            scanner.ConfigureDependencies(configureOptions);

            // Extract text from an image
            scanner.Scan("test.png");

            //Save the extracted text to a text file
            string text = scanner.Text.ToString();
            File.WriteAllText("Output.txt", text);
        }
    }
}
Apply for a Temporary License
If you'd like to remove the evaluation message from the generated documents, or to get rid of the function limitations, please request a 30-day trial license for yourself.
Spire.OCR for .NET is a professional OCR library that supports recognizing text from Images (such as JPG, PNG, GIF, BMP, and TIFF) in both .NET Framework and .NET Core applications. In this article, we will explain how to use Spire.OCR for .NET to read text from images in .NET Framework applications.
Step 1: Create a console application (.NET Framework) in Visual Studio.
Step 2: Change the platform target of the application to X64.
In the application's solution explorer, right-click on the solution name and then click "Properties".
Change the platform target of the application to X64. This step must be performed since Spire.OCR only supports 64-bit platforms.
Step 3: Add a reference to Spire.OCR for .NET DLL in the application.
We recommend installing Spire.OCR for .NET through NuGet (Note: only Spire.OCR for .NET Version 1.8.0 or above supports working with .NET Framework). The detailed steps are as follows:
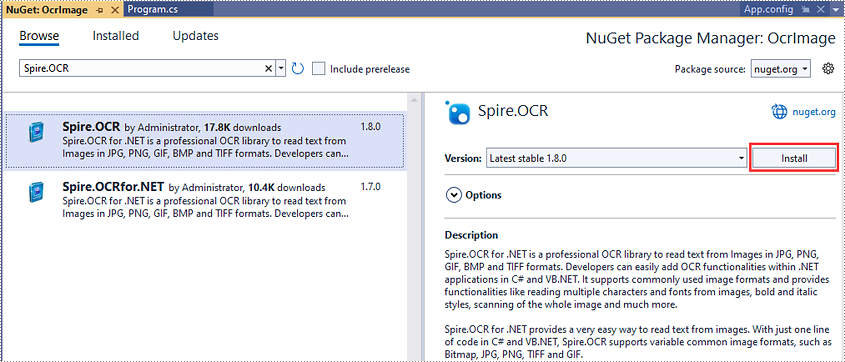
- In the application's solution explorer, right-click on the solution name or "References" and select "Manage NuGet Packages".
- Click the "Browse" tab and search for Spire.OCR.
- Click "Install" to install Spire.OCR.
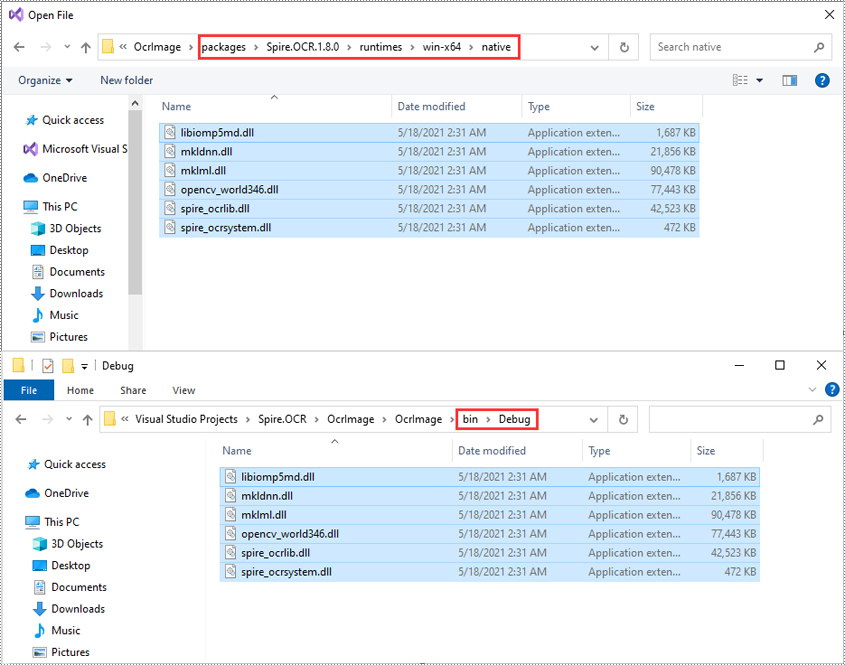
Step 4: Copy DLLs from the "packages" directory to the "Debug" directory in the application.
When you install Spire.OCR through NuGet, NuGet downloads the packages and puts them in your application under a directory called "packages". You need to find the "Spire.OCR" directory under the "packages" directory, then copy the DLLs under the "Spire.OCR" directory (packages\Spire.OCR.1.8.0\runtimes\win-x64\native) to the "Debug" directory of your application.
Now you have successfully included Spire.OCR in your .NET Framework application. You can refer to the following code example to read text from images using Spire.OCR.
- C#
- VB.NET
using Spire.OCR;
using System.IO;

namespace OcrImage
{
    internal class Program
    {
        static void Main(string[] args)
        {
            //Create an instance of the OcrScanner class
            OcrScanner scanner = new OcrScanner();

            //Call the OcrScanner.Scan() method to scan text from an image
            scanner.Scan("image.png");

            //Save the scanned text to a .txt file
            string text = scanner.Text.ToString();
            File.WriteAllText("output.txt", text);
        }
    }
}
Apply for a Temporary License
If you'd like to remove the evaluation message from the generated documents, or to get rid of the function limitations, please request a 30-day trial license for yourself.
Spire.OCR for .NET is a professional OCR library to read text from Images in JPG, PNG, GIF, BMP and TIFF formats. Developers can easily add OCR functionalities within .NET applications in C# and VB.NET. It supports commonly used image formats and provides functionalities like reading multiple characters and fonts from images, bold and italic styles, scanning of the whole image and much more.
Spire.OCR for .NET provides a very easy way to read text from images. With just one line of code in C# and VB.NET, Spire.OCR supports variable common image formats, such as Bitmap, JPG, PNG, TIFF and GIF.
How to use Spire.OCR for .NET in .NET Core Applications
2021-06-17 05:49:10 Written by support iceblueThis article demonstrates the steps to use Spire.OCR for .NET in .NET Core applications.
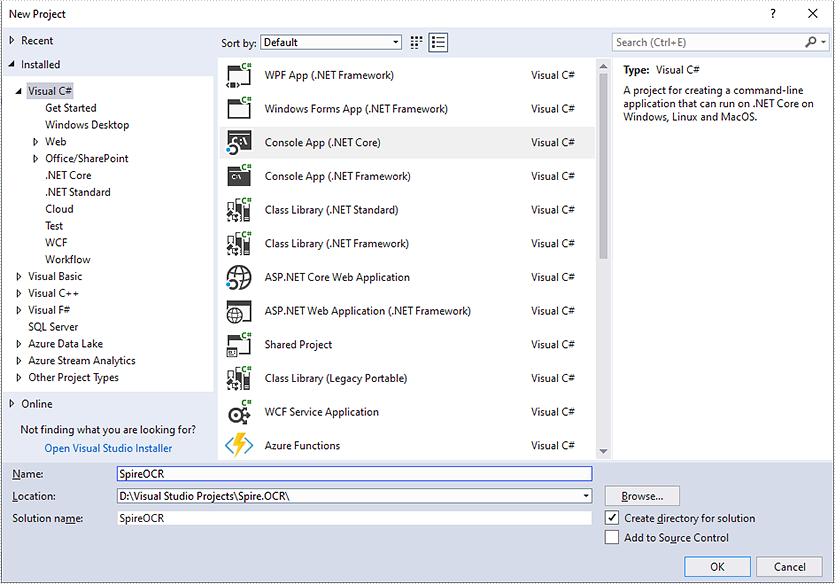
Step 1: Create a .NET Core project in Visual Studio.
Step 2: Add reference to Spire.OCR for .NET DLLs in your project.
You can add reference to Spire.OCR for .NET DLLs through one of the following two ways:
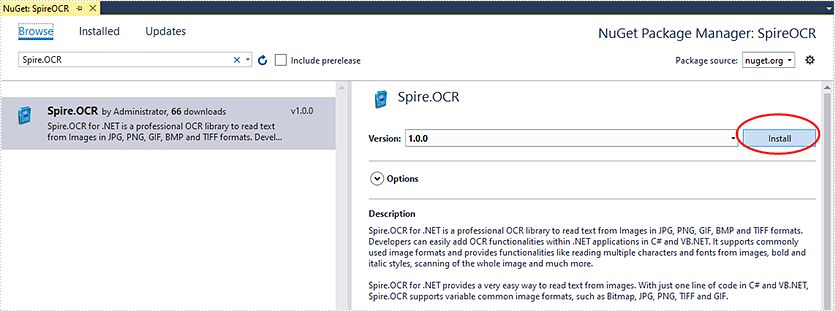
1. Install Spire.OCR for .NET through NuGet using NuGet Package Manager (recommended):
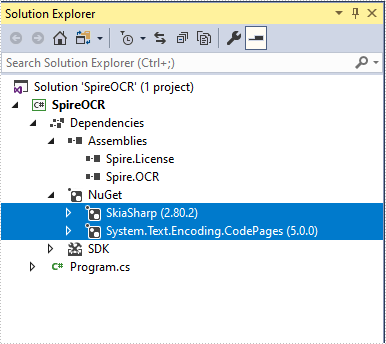
- In Solution Explorer, right-click the project or "Dependencies" and select "Manage NuGet Packages".
- Click "Browse" tab and search Spire.OCR.
- Install Spire.OCR.
2. Manually add reference to Spire.OCR for .NET DLLs.
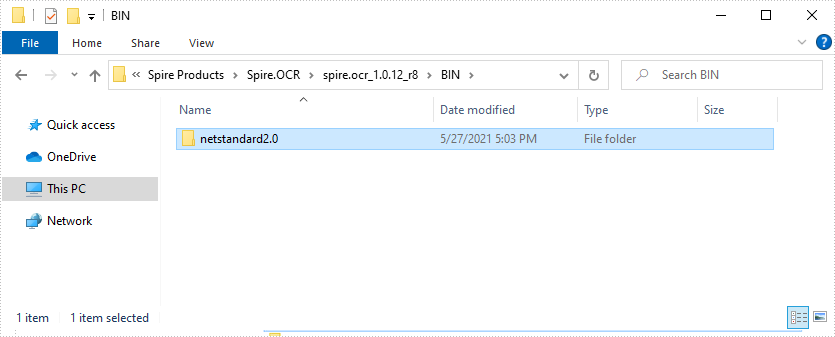
- Download Spire.OCR for .NET package from the following link, unzip it, you will get the DLLs from the "netstandard2.0" folder.
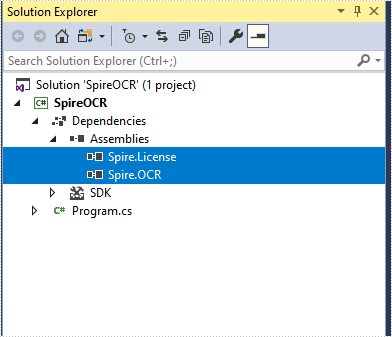
- Right-click the project or "Dependencies" – select "Add Reference" – click "Browse" – select all DLLs under "netstandard2.0" folder – click "Add".
- Install the other two packages: SkiaSharp and System.Text.Encoding.CodePages in your project via the NuGet Package Manager.
Right-click the project or "Dependencies" – select "Manage NuGet Packages" – click "Browse" – type the package name – select the package from the search results – click "Install".
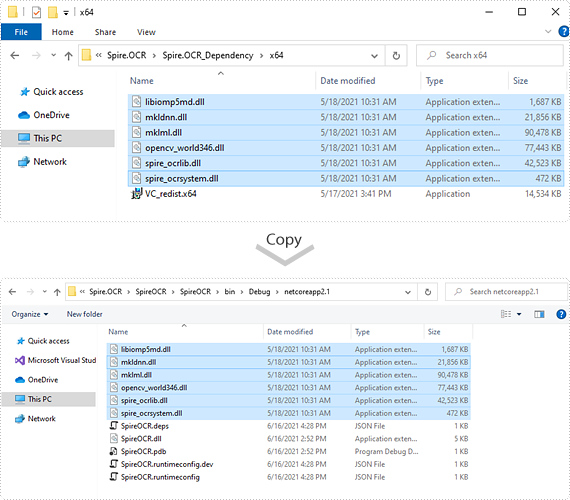
Step 3: Copy dependency DLLs to running directory of your project.
If you install Spire.OCR from NuGet and your project's target framework is .NET Core 3.0 or above, please build the project, then copy the 6 DLLs from bin\Debug\netcoreapp3.0\runtimes\win-x64\native folder to the running directory such as bin\Debug\netcoreapp3.0 or C:\Windows\System32 .

If your project's target framework is below .NET Core 3.0 or you download Spire.OCR from our website, please copy the 6 DLLs from Spire.OCR\Spire.OCR_Dependency\x64 folder to the running directory such as bin\Debug\netcoreapp2.1 or C:\Windows\System32.
Step 4: Now you have successfully included Spire.OCR in your project. You can refer the following code example to scan images using Spire.OCR.
using Spire.OCR;
using System.IO;

namespace SpireOCR
{
    class Program
    {
        static void Main(string[] args)
        {
            OcrScanner scanner = new OcrScanner();
            scanner.Scan("image.png");
            File.WriteAllText("output.txt", scanner.Text.ToString());
        }
    }
}
Imports Spire.OCR
Imports System.IO

Namespace SpireOCR
    Class Program
        Private Shared Sub Main(ByVal args As String())
            Dim scanner As OcrScanner = New OcrScanner()
            scanner.Scan("image.png")
            File.WriteAllText("output.txt", scanner.Text.ToString())
        End Sub
    End Class
End Namespace
