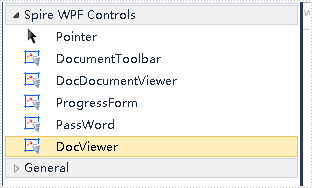
Quick Guide (2)
There are three ways to add Spire.DocViewer controls to Toolbox for Windows Forms application.
In this document, these ways are introduced. Hoping this document can be helpful to you.
The First Solution
Set the CheckBox below to the CheckState "Checked" during installing Spire.DocViewer.
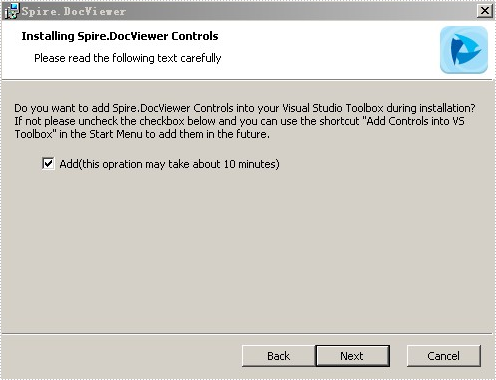
After installment is completed, controls will be added to the Toolbox.
The Second Solution
If you have already installed Spire.DocViewer, you can also add controls this way:
"Start" - "Programs" - "e-iceblue" - "Spire.DocViewer" : Click "Add Controls into VS Toolbox".
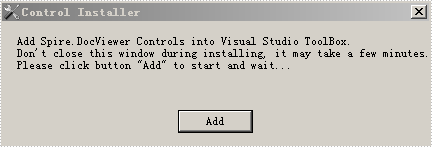
Click "Add" to add controls.

The Third Solution
Right-click on the blank part of the Toolbox - "Add Tab" - name the new Tab "Spire Controls":

Right-click on the blank part below "Spire Controls" - "Choose Items" - ".NET Framework Components" - "Browse" to the "Bin" folder - find the file "Spire.DocViewer.Forms.dll" - "Open"
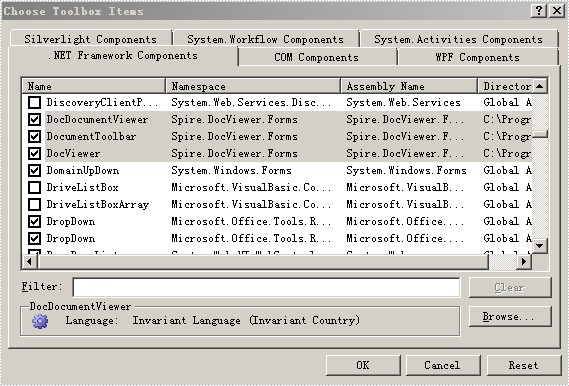
Click "OK". Then you have added controls to Toolbox successfully.
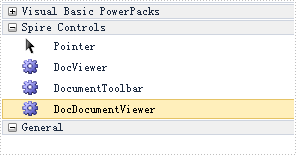
In this document, I will introduce you how to add Spire.DocViewer controls to Toolbox for WPF application.
How To
Right-click on the blank part of the Toolbox - "Add Tab" - name the new Tab "Spire WPF Controls":
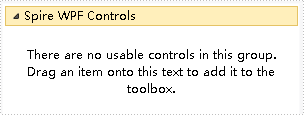
Right-click on the blank part below "Spire WPF Controls" - "Choose Items" - "WPF Components" - "Browse" to the "Bin" folder - find the file "Spire.DocViewer.Wpf.dll" - "Open".
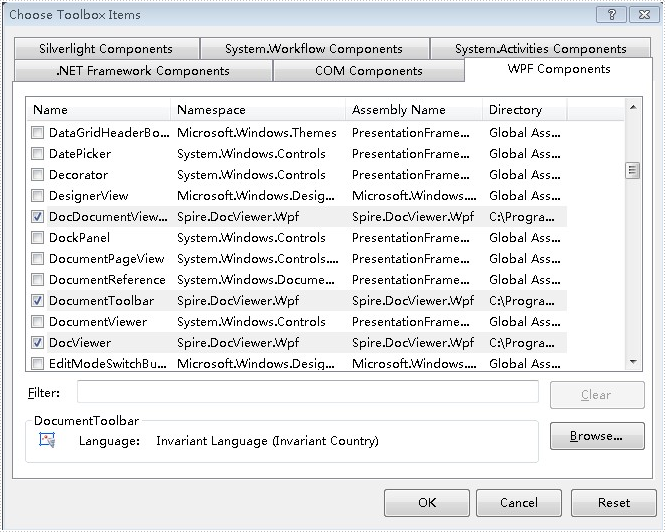
Click "OK". Then you have added controls to Toolbox successfully.
