Python: Add Superscript and Subscript to Word
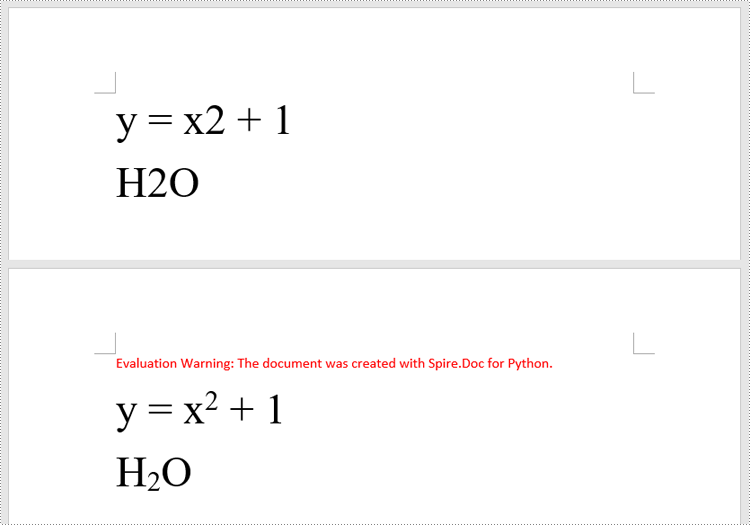
Superscript and subscript are formatting options that allow you to raise or lower characters in relation to the main text. Superscript is typically used for mathematical expressions, footnotes, ordinal indicators (such as "1st" or "2nd"), and chemical formulas. Subscript is commonly employed in chemical equations, mathematical notation, and certain linguistic elements. By adding superscripts and subscripts, you can enhance the readability and professionalism of your documents, especially in scientific, mathematical, and technical writing. In this article, we will demonstrate how to add superscripts and subscripts to Word documents in Python using Spire.Doc for Python.
- Add Superscript and Subscript Text to Word in Python
- Apply Superscript and Subscript Formatting to Existing Text in Word in Python
Install Spire.Doc for Python
This scenario requires Spire.Doc for Python and plum-dispatch v1.7.4. They can be easily installed in your Windows through the following pip command.
pip install Spire.Doc
If you are unsure how to install, please refer to this tutorial: How to Install Spire.Doc for Python on Windows
Add Superscript and Subscript Text to Word in Python
You can add text to a paragraph using the Paragraph.AppentText() method. After that, you can apply superscript or subscript formatting to the text through the TextRange.CharacterFormat.SubSuperScript property. The detailed steps are as follows.
- Create an object of the Document class.
- Add a section to the document using Document.AddSection() method.
- Add a paragraph to the section using Section.AddParagraph() method.
- Add normal text to the paragraph using Paragraph.AppendText() method.
- Add superscript or subscript text to the paragraph using Paragraph.AppendText() method.
- Apply superscript or subscript formatting to the superscript or subscript text using TextRange.CharacterFormat.SubSuperScript property.
- Save the resulting document using Document.SaveToFile() method.
- Python
from spire.doc import *
from spire.doc.common import *

# Create a Document instance
document = Document()
# Add a section to the document
section = document.AddSection()

# Add a paragraph to the section
paragraph = section.AddParagraph()

# Add normal text to the paragraph
paragraph.AppendText("E = mc")
# Add superscript text to the paragraph
superscript_text = paragraph.AppendText("2")
# Apply superscript formatting to the superscript text
superscript_text.CharacterFormat.SubSuperScript = SubSuperScript.SuperScript

# Start a new line
paragraph.AppendBreak(BreakType.LineBreak)

# Add normal text to the paragraph
paragraph.AppendText("H")
# Add subscript text to the paragraph
subscript_text = paragraph.AppendText("2")
# Apply subscript formatting to the subscript text
subscript_text.CharacterFormat.SubSuperScript = SubSuperScript.SubScript
# Add normal text to the paragraph
paragraph.AppendText("O")

# Set the font size for the text in the paragraph
for i in range(paragraph.Items.Count):
    item = paragraph.Items[i]
    if isinstance(item, TextRange):
        text_range = item
        text_range.CharacterFormat.FontSize = 36

# Save the resulting document
document.SaveToFile("AddSuperscriptAndSubscriptText.docx", FileFormat.Docx2013)
document.Close()

Apply Superscript and Subscript Formatting to Existing Text in Word in Python
To apply superscript or subscript formatting to a specific text, you need to search for the text using the Document.FindAllString() method, then apply superscript or subscript formatting to the instances of that text through the TextRange.CharacterFormat.SubSuperScript property. The detailed steps are as follows.
- Create an object of the Document class.
- Load a Word document using Document.LoadFromFile() method.
- Find a specific text in the document using Document.FindAllString() method. This method will return a list of TextSelection objects, each representing an instance of the text in the document.
- Get the first instance of the text as a single text range using TextSelection.GetAsOneRange() method, then apply superscript formatting to the text range by setting the TextRange.CharacterFormat.SubSuperScript property to SubSuperScript.SuperScript.
- Get the second instance of the text as a single text range using TextSelection.GetAsOneRange() method, then apply subscript formatting to the text range by setting the TextRange.CharacterFormat.SubSuperScript property to SubSuperScript.SubScript.
- Save the resulting document using Document.SaveToFile() method.
- Python
from spire.doc import *
from spire.doc.common import *

# Create a Document instance
document = Document()
# Load a Word document
document.LoadFromFile("Sample.docx")

# Find a specific number in the document
text_selections = document.FindAllString("2", False, False)

# Apply superscript formatting to the first instance of the number
superscript_text = text_selections[0].GetAsOneRange()
superscript_text.CharacterFormat.SubSuperScript = SubSuperScript.SuperScript

# Apply subscript formatting to the second instance of the number
subscript_text = text_selections[1].GetAsOneRange()
subscript_text.CharacterFormat.SubSuperScript = SubSuperScript.SubScript

# Save the resulting document
document.SaveToFile("ApplySuperscriptAndSubscriptFormatting.docx", FileFormat.Docx2013)
document.Close()
Apply for a Temporary License
If you'd like to remove the evaluation message from the generated documents, or to get rid of the function limitations, please request a 30-day trial license for yourself.
Python: Insert or Extract OLE Objects in Word
OLE (Object Linking and Embedding) objects in Word are files or data from other applications that can be inserted into a document. These objects can be edited and updated within Word, allowing you to seamlessly integrate content from various programs, such as Excel spreadsheets, PowerPoint presentations, or even multimedia files like images, audio, or video. In this article, we will introduce how to insert and extract OLE objects in a Word document in Python using Spire.Doc for Python.
Install Spire.Doc for Python
This scenario requires Spire.Doc for Python and plum-dispatch v1.7.4. They can be easily installed in your Windows through the following pip command.
pip install Spire.Doc
If you are unsure how to install, please refer to this tutorial: How to Install Spire.Doc for Python on Windows
Insert OLE Objects in Word in Python
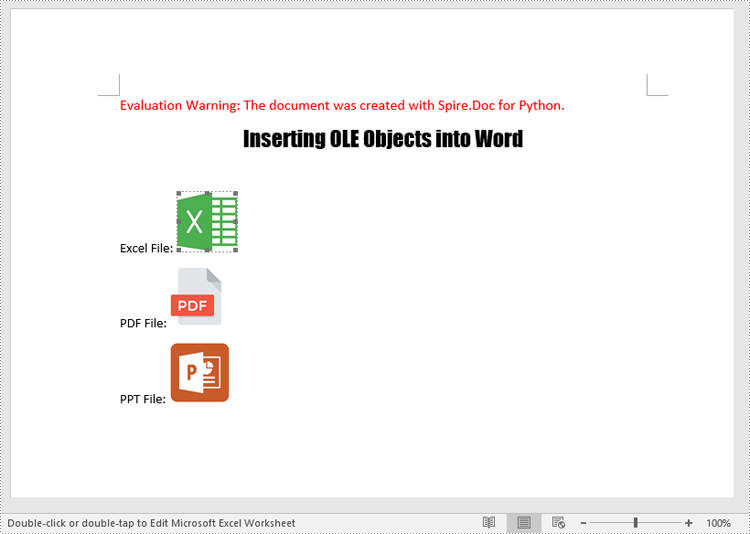
Spire.Doc for Python provides the Paragraph.AppendOleObject(pathToFile:str, olePicture:DocPicture, type:OleObjectType) method to embed OLE objects in a Word document. The detailed steps are as follows.
- Create an object of the Document class.
- Load a Word document using the Document.LoadFromFile() method.
- Get a specific section using the Document.Sections.get_Item(index) method.
- Add a paragraph to the section using the Section.AddParagraph() method.
- Create an object of the DocPicture class.
- Load an image that will be used as the icon of the OLE object using the DocPicture.LoadImage() method and then set image width and height.
- Append an OLE object to the paragraph using the Paragraph.AppendOleObject(pathToFile:str, olePicture:DocPicture, type:OleObjectType) method.
- Save the result file using the Document.SaveToFile() method.
The following code example shows how to embed an Excel spreadsheet, a PDF file, and a PowerPoint presentation in a Word document using Spire.Doc for Python:
- Python
from spire.doc import *
from spire.doc.common import *

# Create an object of the Document class
doc = Document()
# Load a Word document
doc.LoadFromFile("Example.docx")

# Get the first section
section = doc.Sections.get_Item(0)

# Add a paragraph to the section
para1 = section.AddParagraph()
para1.AppendText("Excel File: ")
# Load an image which will be used as the icon of the OLE object
picture1 = DocPicture(doc)
picture1.LoadImage("Excel-Icon.png")
picture1.Width = 50
picture1.Height = 50
# Append an OLE object (an Excel spreadsheet) to the paragraph
para1.AppendOleObject("Budget.xlsx", picture1, OleObjectType.ExcelWorksheet)

# Add a paragraph to the section
para2 = section.AddParagraph()
para2.AppendText("PDF File: ")
# Load an image which will be used as the icon of the OLE object
picture2 = DocPicture(doc)
picture2.LoadImage("PDF-Icon.png")
picture2.Width = 50
picture2.Height = 50
# Append an OLE object (a PDF file) to the paragraph
para2.AppendOleObject("Report.pdf", picture2, OleObjectType.AdobeAcrobatDocument)

# Add a paragraph to the section
para3 = section.AddParagraph()
para3.AppendText("PPT File: ")
# Load an image which will be used as the icon of the OLE object
picture3 = DocPicture(doc)
picture3.LoadImage("PPT-Icon.png")
picture3.Width = 50
picture3.Height = 50
# Append an OLE object (a PowerPoint presentation) to the paragraph
para3.AppendOleObject("Plan.pptx", picture3, OleObjectType.PowerPointPresentation)

doc.SaveToFile("InsertOLE.docx", FileFormat.Docx2013)
doc.Close()
Extract OLE Objects from Word in Python
To extract OLE objects from a Word document, you first need to locate the OLE objects within the document. Once located, you can determine the file format of each OLE object. Finally, you can save the data of each OLE object to a file in its native file format. The detailed steps are as follows.
- Create an instance of the Document class.
- Load a Word document using the Document.LoadFromFile() method.
- Iterate through all sections of the document.
- Iterate through all child objects in the body of each section.
- Identify the paragraphs within each section.
- Iterate through the child objects in each paragraph.
- Locate the OLE object within the paragraph.
- Determine the file format of the OLE object.
- Save the data of the OLE object to a file in its native file format.
The following code example shows how to extract the embedded Excel spreadsheet, PDF file, and PowerPoint presentation from a Word document using Spire.Doc for Python:
- Python
from spire.doc import *
from spire.doc.common import *

# Create an object of the Document class
doc = Document()
# Load a Word document
doc.LoadFromFile("InsertOLE.docx")

i = 1
# Iterate through all sections of the Word document
for k in range(doc.Sections.Count):
    sec = doc.Sections.get_Item(k)
    # Iterate through all child objects in the body of each section
    for j in range(sec.Body.ChildObjects.Count):
        obj = sec.Body.ChildObjects.get_Item(j)
        # Check if the child object is a paragraph
        if isinstance(obj, Paragraph):
            par = obj if isinstance(obj, Paragraph) else None
            # Iterate through the child objects in the paragraph
            for m in range(par.ChildObjects.Count):
                o = par.ChildObjects.get_Item(m)
                # Check if the child object is an OLE object
                if o.DocumentObjectType == DocumentObjectType.OleObject:
                    ole = o if isinstance(o, DocOleObject) else None
                    s = ole.ObjectType
                    # Check if the OLE object is a PDF file
                    if s.startswith("AcroExch.Document"):
                        ext = ".pdf"
                    # Check if the OLE object is an Excel spreadsheet
                    elif s.startswith("Excel.Sheet"):
                        ext = ".xlsx"
                    # Check if the OLE object is a PowerPoint presentation
                    elif s.startswith("PowerPoint.Show"):
                        ext = ".pptx"
                    else:
                        continue
                    # Write the data of OLE into a file in its native format
                    with open(f"Output/OLE{i}{ext}", "wb") as file:
                            file.write(ole.NativeData)
                    i += 1

doc.Close()

Apply for a Temporary License
If you'd like to remove the evaluation message from the generated documents, or to get rid of the function limitations, please request a 30-day trial license for yourself.
Python: Add or Remove Captions in Word Documents
Captions play a significant role in Word documents by serving as markers, explanations, navigation aids, and accessibility features. They are crucial elements for creating professional, accurate, and user-friendly documents. Captions help improve the readability, usability, and accessibility of the document and are essential for understanding and effectively processing the document's content. This article will explain how to use Spire.Doc for Python to add or remove captions in Word documents using Python programs.
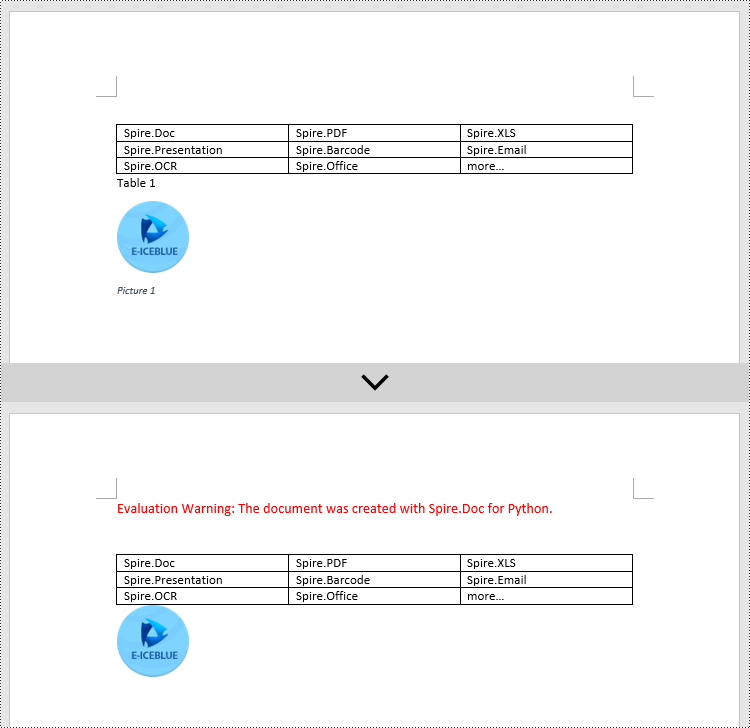
- Add Image Captions to a Word document in Python
- Add Table Captions to a Word document in Python
- Remove Captions from a Word document in Python
Install Spire.Doc for Python
This scenario requires Spire.Doc for Python and plum-dispatch v1.7.4. They can be easily installed in your Windows through the following pip command.
pip install Spire.Doc
If you are unsure how to install, please refer to this tutorial: How to Install Spire.Doc for Python on Windows
Add Image Captions to a Word document in Python
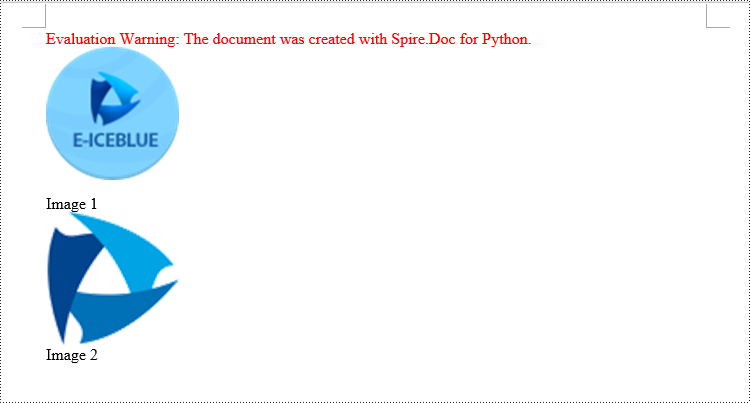
Spire.Doc for Python provides a convenient method to add captions to images. Simply call the DocPicture.AddCaption(self, name: str, numberingFormat: 'CaptionNumberingFormat', captionPosition: 'CaptionPosition') method to add a caption for the image. The detailed steps are as follows:
- Create an object of the Document class.
- Use the Document.AddSection() method to add a section.
- Add a paragraph using Section.AddParagraph() method.
- Use the Paragraph.AppendPicture(self ,imgFile:str) method to add a DocPicture image object to the paragraph.
- Use the DocPicture.AddCaption(self ,name:str,numberingFormat:'CaptionNumberingFormat',captionPosition:'CaptionPosition') method to add a caption with numbering format as CaptionNumberingFormat.Number.
- Set the Document.IsUpdateFields property to true to update all fields.
- Use the Document.SaveToFile() method to save the resulting document.
- Python
from spire.doc import *
from spire.doc.common import *

# Create a Word document object
document = Document()

# Add a section
section = document.AddSection()

# Add a new paragraph and add an image to it
pictureParagraphCaption = section.AddParagraph()
pictureParagraphCaption.Format.AfterSpacing = 10
pic1 = pictureParagraphCaption.AppendPicture("Data\\1.png")
pic1.Height = 100
pic1.Width = 100

# Add a caption to the image
format = CaptionNumberingFormat.Number
pic1.AddCaption("Image", format, CaptionPosition.BelowItem)

# Add another new paragraph and add an image to it
pictureParagraphCaption = section.AddParagraph()
pic2 = pictureParagraphCaption.AppendPicture("Data\\2.png")
pic2.Height = 100
pic2.Width = 100

# Add a caption to the image
pic2.AddCaption("Image", format, CaptionPosition.BelowItem)

# Update all fields in the document
document.IsUpdateFields = True

# Save the document as a docx file
result = "AddImageCaption.docx"
document.SaveToFile(result, FileFormat.Docx2016)

# Close the document object and release resources
document.Close()
document.Dispose()
Add Table Captions to a Word document in Python
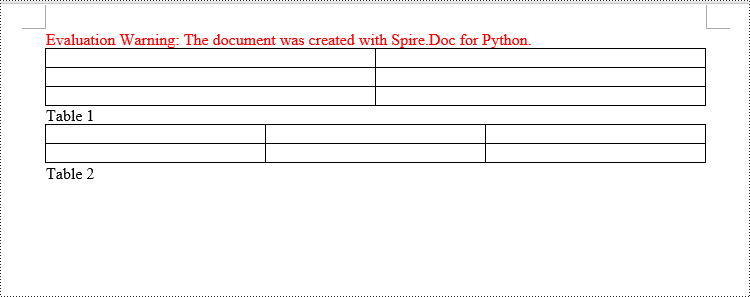
To facilitate the addition of captions to tables, Spire.Doc for Python also provides a convenient method similar to adding captions to images. You can use the Table.AddCaption(self, name:str, format:'CaptionNumberingFormat', captionPosition:'CaptionPosition') method to create a caption for the table. The following are the detailed steps:
- Create an object of the Document class.
- Use the Document.AddSection() method to add a section.
- Create a Table object and add it to the specified section in the document.
- Use the Table.ResetCells(self ,rowsNum:int,columnsNum:int) method to set the number of rows and columns in the table.
- Add a caption to the table using the Table.AddCaption(self ,name:str,format:'CaptionNumberingFormat',captionPosition:'CaptionPosition') method, specifying the caption numbering format as CaptionNumberingFormat.Number.
- Set the Document.IsUpdateFields property to true to update all fields.
- Use the Document.SaveToFile() method to save the resulting document.
- Python
from spire.doc import *
from spire.doc.common import *

# Create a Word document object
document = Document()

# Add a section
section = document.AddSection()

# Add a table
tableCaption = section.AddTable(True)
tableCaption.ResetCells(3, 2)

# Add a caption to the table
tableCaption.AddCaption("Table", CaptionNumberingFormat.Number, CaptionPosition.BelowItem)

# Add another table and caption to it
tableCaption = section.AddTable(True)
tableCaption.ResetCells(2, 3)
tableCaption.AddCaption("Table", CaptionNumberingFormat.Number, CaptionPosition.BelowItem)

# Update all fields in the document
document.IsUpdateFields = True

# Save the document as a docx file
result = "AddTableCaption.docx"
document.SaveToFile(result, FileFormat.Docx2016)

# Close the document object and release resources
document.Close()
document.Dispose()
Remove Captions from a Word document in Python
Spire.Doc for Python also supports removing captions from Word documents. Here are the detailed steps:
- Create an object of the Document class.
- Use the Document.LoadFromFile() method to load a Word document.
- Create a custom method, named detect_caption_paragraph(paragraph), to determine if a paragraph contains a caption.
- Iterate through all the Paragraph objects in the document using a loop and utilize the custom method, detect_caption_paragraph(paragraph), to identify and delete paragraphs that contain captions.
- Use the Document.SaveToFile() method to save the resulting document.
- Python
from spire.doc import *
from spire.doc.common import *

# Method to detect if a paragraph is a caption paragraph
def detect_caption_paragraph(paragraph):
    tag = False
    field = None

# Iterate through the child objects in the paragraph
    for i in range(len(paragraph.ChildObjects)):
        if paragraph.ChildObjects[i].DocumentObjectType == DocumentObjectType.Field:
            # Check if the child object is of Field type
            field = paragraph.ChildObjects[i]
            if field.Type == FieldType.FieldSequence:
                # Check if the Field type is FieldSequence, indicating a caption field type
                return True

    return tag

# Create a Word document object
document = Document()
# Load the sample.docx file
document.LoadFromFile("Data/sample.docx")

# Iterate through all sections
for i in range(len(document.Sections)):
    section = document.Sections.get_Item(i)

    # Iterate through paragraphs in reverse order within the section
    for j in range(len(section.Body.Paragraphs) - 1, -1, -1):
        # Check if the paragraph is a caption paragraph
        if detect_caption_paragraph(section.Body.Paragraphs[j]):
            # If it's a caption paragraph, remove it
            section.Body.Paragraphs.RemoveAt(j)

# Save the document after removing captions
result = "DeleteCaptions.docx"
document.SaveToFile(result, FileFormat.Docx2016)

# Close the document object and release resources
document.Close()
document.Dispose()
Apply for a Temporary License
If you'd like to remove the evaluation message from the generated documents, or to get rid of the function limitations, please request a 30-day trial license for yourself.