
In Microsoft Excel, freezing panes is a practical feature that allows you to lock specific rows or columns in place while navigating through a spreadsheet. When you freeze panes, the selected rows or columns remain visible on the screen, even as you scroll through the rest of the worksheet. This feature proves especially useful when dealing with large datasets where headers, titles, or other important reference points must stay visible to provide context.
Unfreezing panes, on the other hand, allows you to release the locked rows or columns. It is beneficial when you no longer need certain sections to remain fixed and want to regain the ability to navigate the entire spreadsheet without any restrictions. In this article, we will demonstrate how to freeze and unfreeze panes in Excel in Python using Spire.XLS for Python.
Install Spire.XLS for Python
This scenario requires Spire.XLS for Python and plum-dispatch v1.7.4. They can be easily installed in your Windows through the following pip commands.
pip install Spire.XLS
If you are unsure how to install, please refer to this tutorial: How to Install Spire.XLS for Python on Windows
Freeze Panes in Excel in Python
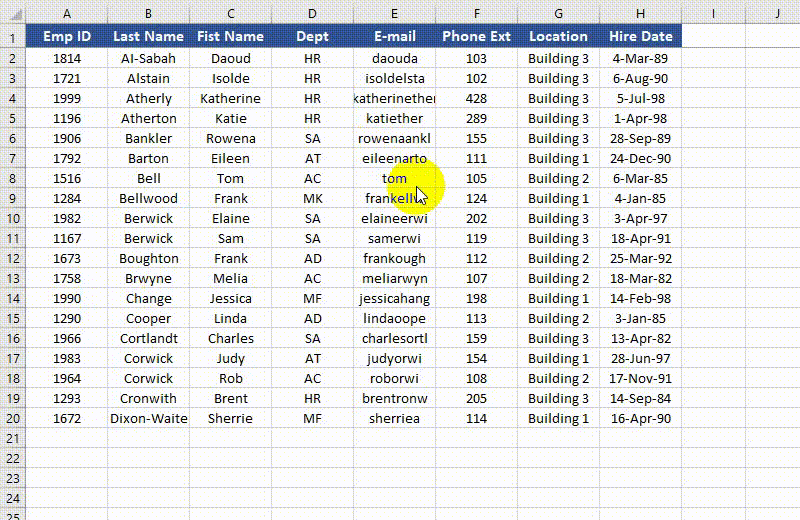
Rows and columns can be frozen by using the Worksheet.FreezePanes() method. This method takes two parameters - rowIndex (1-based) and columnIndex (1-based). The first parameter represents the index of the row above which all rows will be frozen. The second parameter represents the index of the column to the left of which all columns will be frozen.
The following steps show you how to freeze specific rows and/or columns in Excel using Spire.XLS for Python.
- Create an instance of the Workbook class.
- Load an Excel file using Workbook.LoadFromFile() method.
- Get a specific worksheet using Workbook.Worksheets[index] property.
- Freeze specific rows and/or columns in the worksheet using Worksheet.FreezePanes(rowIndex, columnIndex) method.
- Save the result Excel file using Workbook.SaveToFile() method.
- Python
from spire.xls import *
from spire.xls.common import *

# Specify the paths for the input and output Excel files
inputFile = "Sample.xlsx"
outputFile = "FreezePanes.xlsx"

# Create a Workbook instance
workbook = Workbook()
# Load an Excel file
workbook.LoadFromFile(inputFile)

# Get the first worksheet in the file
sheet = workbook.Worksheets[0]

# Freeze specific rows and/or columns
# Freeze the top row
sheet.FreezePanes(2, 1)
# Or freeze the first column
# sheet.FreezePanes(1, 2)
# Or freeze the top row and the first column
# sheet.FreezePanes(2, 2)

# Save the result file
workbook.SaveToFile(outputFile, ExcelVersion.Version2013)
workbook.Dispose()
Unfreeze Panes in Excel in Python
To unfreeze rows and columns in Excel, use the Worksheet.RemovePanes() method. The detailed steps are as follows.
- Create an instance of the Workbook class.
- Load an Excel file using Workbook.LoadFromFile() method.
- Get a specific worksheet using Workbook.Worksheets[index] property.
- Unfreeze rows and columns in the worksheet using Worksheet.RemovePanes() method.
- Save the result Excel file using Workbook.SaveToFile() method.
- Python
from spire.xls import *
from spire.xls.common import *

# Specify the paths for the input and output Excel files
inputFile = " FreezePanes.xlsx"
outputFile = "UnfreezePanes.xlsx"

# Create a Workbook instance
workbook = Workbook()
# Load an Excel file
workbook.LoadFromFile(inputFile)

# Get the first worksheet in the file
sheet = workbook.Worksheets[0]

# Unfreeze rows and/or columns in the worksheet
sheet.RemovePanes()

# Save the result file
workbook.SaveToFile(outputFile, ExcelVersion.Version2013)
workbook.Dispose()
Apply for a Temporary License
If you'd like to remove the evaluation message from the generated documents, or to get rid of the function limitations, please request a 30-day trial license for yourself.
